

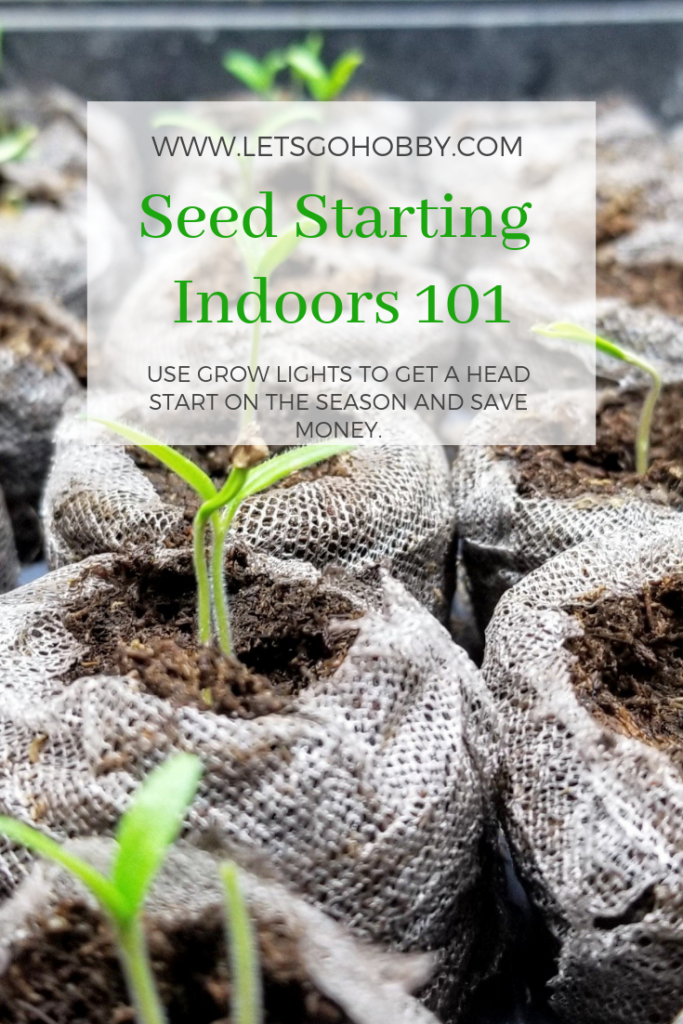
Early Start
You can get a head start in your garden in late winter or early spring indoors by planting seeds under grow lights or near a window. It’s not too much work, and it’s really cost effective in the long run.
You can certainly buy all your plants at a nursery, but most grown plants start at $2 and can get very expensive as they grow bigger or are heirloom or rare varieties.
Whereas, seed packets generally cost anywhere from $.50 to $4 and depending on the pack, may contain 10 to 300 seeds. So, essentially, you could get up to 300 plants from one packet!
Do You Need a Grow Light?
Whether or not you will need a grow light will depend upon if you have an area in your house that is most likely South facing and gets an abundant amount of light for most of the day.
If you plan to plant indoors, but don’t have a room with great sunlight most of the day, then you will need grow lights.
I have west facing windows which are great for my house plants, but it’s probably not bright enough for seedlings. Additionally, I don’t have the space in that area to grow lots of seedlings.
If you do plant indoors by windows, keep an eye on your seedlings to make sure they aren’t getting leggy (long and spindly) and leaning one direction. If they are, that means that they aren’t getting enough light!
Additional Environmental Factors
Here are a few more factors to consider when siting your indoor growing area:
- Kids
- Pets
- Temperature
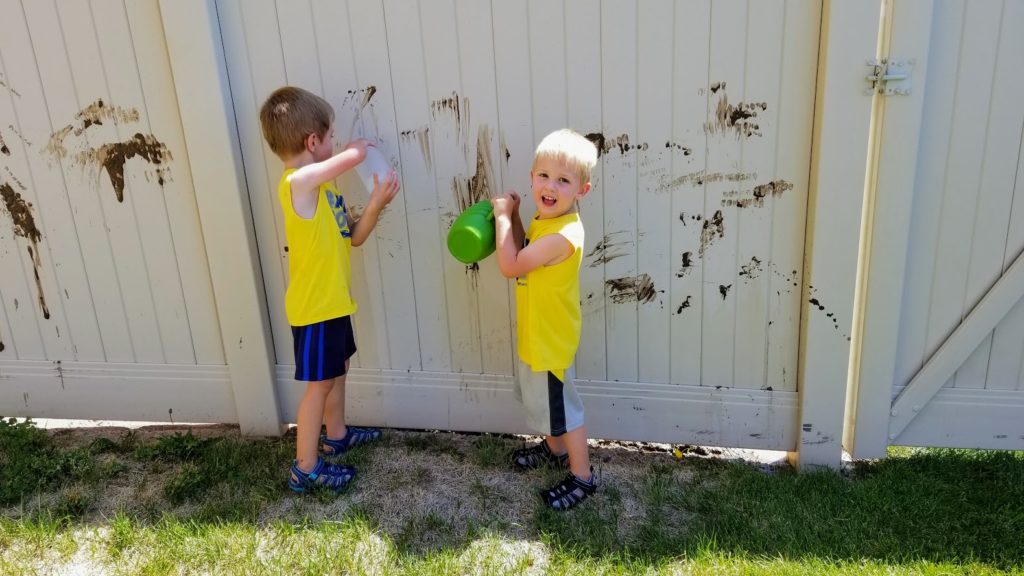
If you have young kids, having dirt, water, fertilizer, and young tender plants out in the open may not work out well. Some kids just love to play in dirt. As you can see, mine do!
If you have pets, consider whether your pet’s personality and habits will be conducive to growing in the area you want to start your seeds. Maybe your cat likes to eat soil out of your house plants, or your dog’s tail would knock over your set up.
And lastly, temperature matters when starting seeds. Especially if you plan to start warm annual vegetables like tomatoes and peppers inside. You may have an amazing sun porch, but if it’s not heated, you aren’t going to be much ahead of growing outdoors.
Advantages to Growing Your Own
The other great thing about growing from seed, is that there are so many more cultivars out there than are probably at your local nursery or hardware garden area.
Many heirloom and organic plants will not be available in already grown plants in your area. If you want to try something new, starting your own seeds is definitely the way to go.
If you are looking for online seed suppliers, you can see my post with a great list of online seed sources HERE!
I went a little crazy on tomatoes this year, but look how fun these varieties are!
I have:
- Blue Beauty
- Get Stuffed
- Amish Paste
- Kelogg’s Breakfast
- Beefsteak
- Mortgage Lifter
- Raspberry Lyanna
- Tomato Isis Candy Cherry
- San Marzano Lungo No. 2
- Sweeties
- Romas
- Plus Pink Brandywines I saved last year (not pictured)
Have you seen all these heirloom tomatoes at your local plant nursery? Maybe you have seen romas and sweeties and beefsteaks. But I’ll tell you what, you are missing out on some really neat and tasty cultivars if you haven’t tried more than the basics!
Here’s a fun story about one of the tomatoes I bought. Apparently the gardener that invented the Mortgage Lifter Tomato literally “lifted” his mortgage back in the 1930s by selling each tomato he grew for $1.
He sold tomatoes for 6 years and was able to pay off his $6000 mortgage (source). Wouldn’t it be nice if mortgages were only $6000 these days (pretend inflation kept up with everything else)!
Okay, so you probably just want to know how to plant seeds under lights (who cares how many seed packs this crazy tomato lady bought right?).
On to it.
How to Plant Seeds Under Grow Lights
Pick a Grow Light
There are many lights on the market these days, but most home growers are using one or both of two types:
- Flourescent Lights
- LED Lights
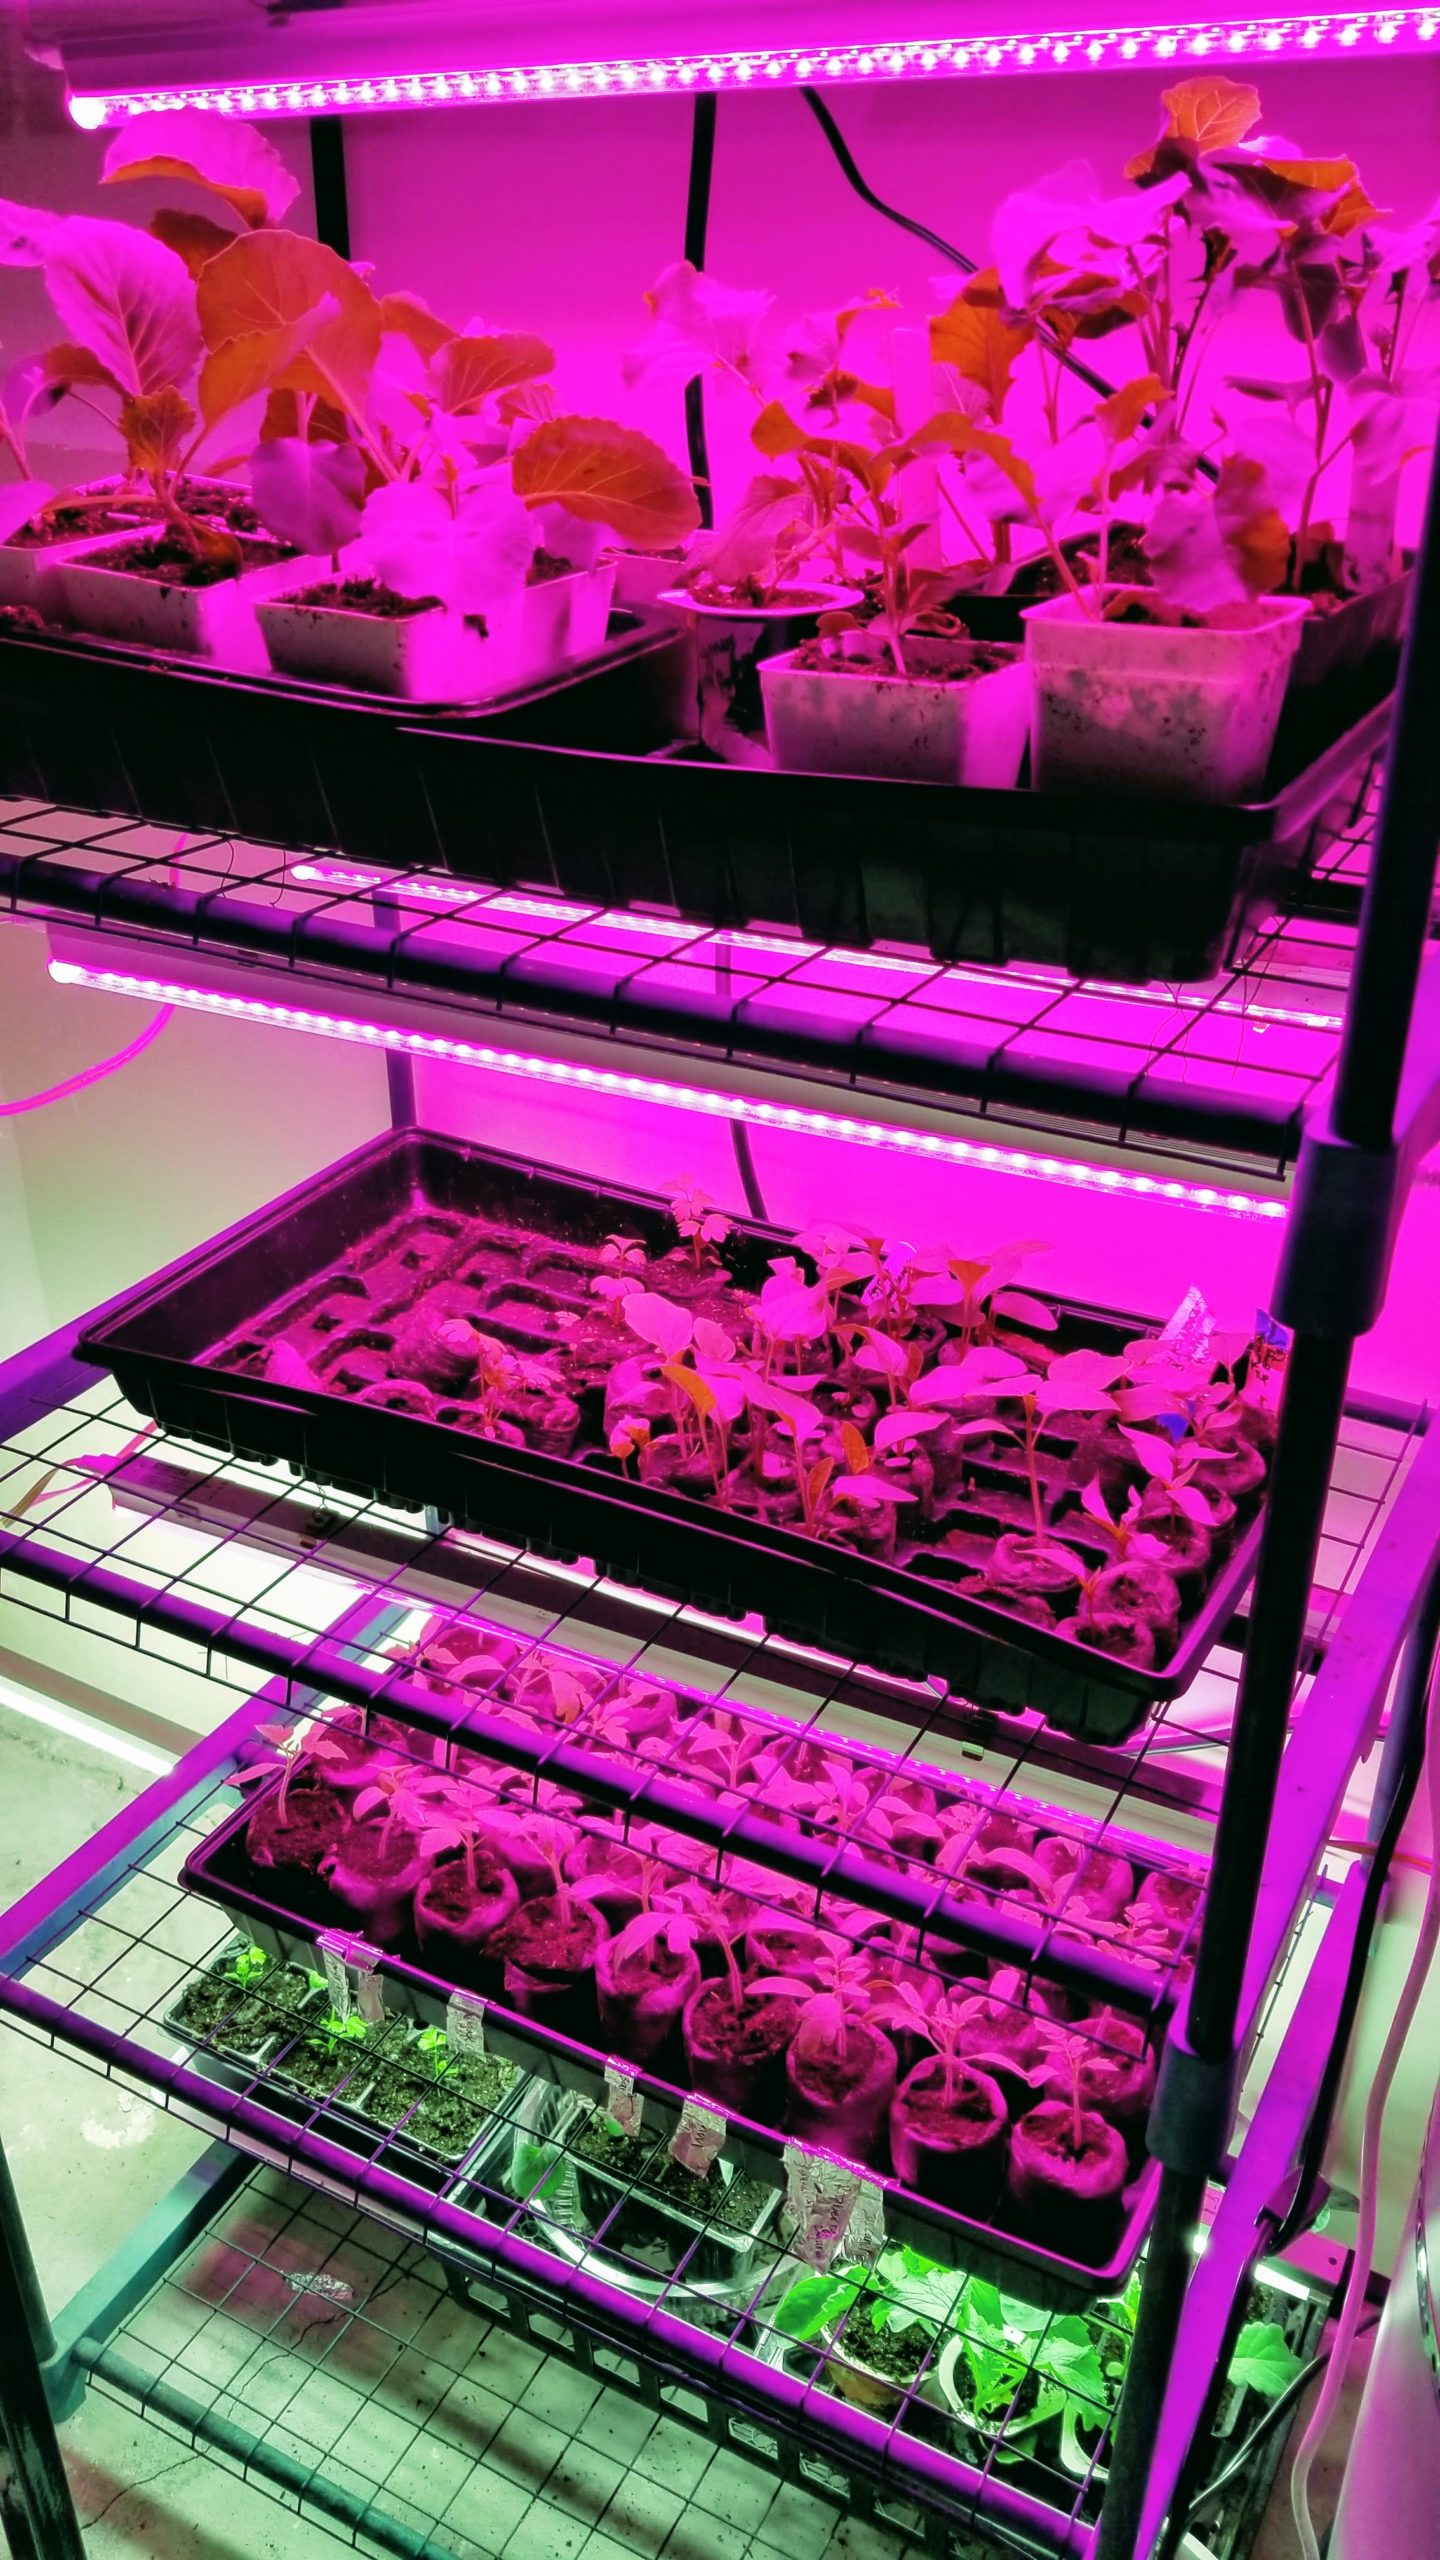
Flourescent lights come in many shapes, sizes, and types. The best type of flourescent lights to use for growing seedlings are called T5 lights. You can buy these in tube form or regular bulb form. I have two of these lights in tube form and they work very well.

LED lights are newer to the growing scene, but they do work well. I have 6 smaller LED lights in my set up as well. I bought THESE lights just this year in the 2 foot version since that’s how wide my shelves are. I really like these so far. My plants are growing great and I love that they daisy chain together so that I only have to have 1 outlet for 6 lights.
One advantage to using LED lights over flourescents is that they use less power. A disadvantage is that they are very bright, so you will need to be careful how high you hang the lights above your plants.
Set Up Growing Area
You want to put this in a place that’s not too cold, as warmer weather seeds need warmer temperatures to germinate (at least room temperature).
If you have a grow light stand like mine that lowers and raises, you are ready to go from here. If you don’t, you will want to find a way to get your plants and light within inches of each other to start (how far away to put the light from the plants will depend on the type of grow light you have).

As the seedlings grow, you will slowly raise the light to keep it just above the top of the plants. If your light is too high above the plants, they will become leggy and fall over.
If your light does not have a stand or built in wires that allow it to be raised up or down, you can solve this many ways. A few ideas are using wire to hang the lights from shelves so that you can adjust the height by twisting the wire at different heights.
Another option would be to put something underneath your seedling trays to raise them up to the lights. Then as your plants grow, you will remove height from the bottom while keeping the lights in the same place.
My seed magic happens in my furnace room. The floor is concrete, but it’s warm in the room with the furnace and a refrigerator nearby. I have one light on the floor using a stand, and the rest of my lights are on a small 2 foot wide shelf (it was originally a mini greenhouse).

To help the seeds germinate faster and more uniformly, you can also use a seedling heat mat. I haven’t used one myself, but it’s a nice add to the seed starting set up and will cause your seedlings to germinate faster.
The heat mat is generally used only in the germination phase and then removed after the seedlings emerge.
Growing Medium and Containers
There are a ton of mediums and containers that seeds can be grown in. If you want to do it the easy way, you can buy the jiffy type seed starting trays with the peat pods that go in each spot. You just add water and the pods expand out and up.
There is some controversy on whether or not peat is a sustainable medium. So, if you are wanting to be eco-friendly, using a sterile seed starting mix with coconut coir or some other medium might be the way to go for you.

You can use left over multi-planters bought at a store previously, or make your own planters. I’ve tried using toilet paper tubes, egg cartons, and various plastic food containers.
 |
| These little yogurt containers are perfect. |
The important part is that you use a medium that is sterile (not potting soil). You don’t want a bunch of big sticks or gnat larva in your seed starting mix.
If you use a sterile mix with containers, fill the containers almost to the top, leaving about 1/4″ head space.
Plant Seeds
Make sure your growing medium is wet, but not soggy before you plant. If you squeeze the medium and it drips, it’s too wet. You just want the medium to be damp through.
Be sure to come up with a system to remember which seeds you planted where. I’ve made a simple diagram like this one:

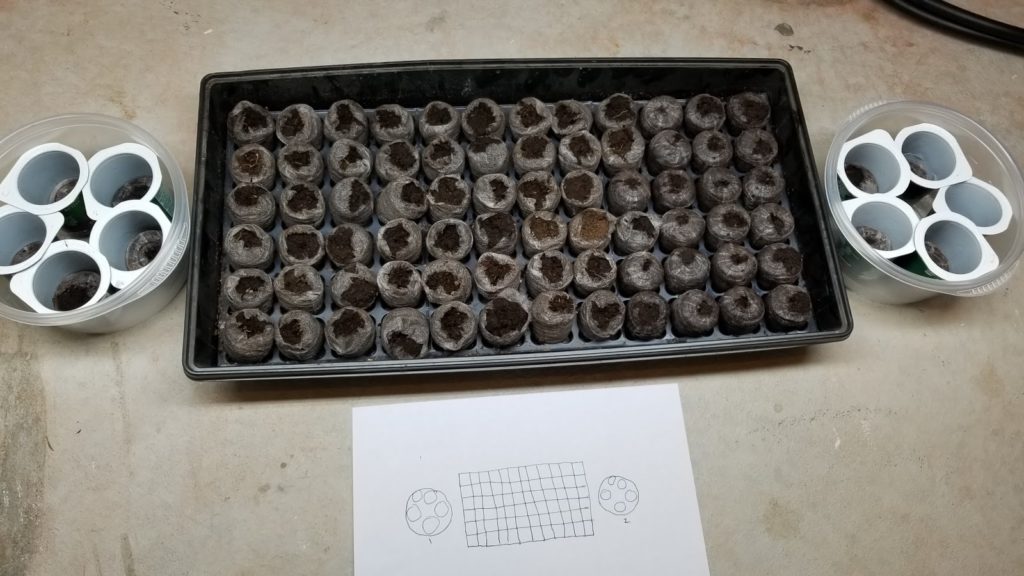
Other ideas are to use plant label sticks, colored tooth picks, or popsicle sticks to label the seedling spots. Do what works for you. But make sure you do label or you’ll most likely be smacking your forehead in two months from now!
To actually plant the seeds, I like to use the back of a sharpie to push a little hole into each pod or planter and then drop 1-3 seeds inside.

For most of my starts, I used 2 seeds in each. For older seeds packs, you can add more seeds under the assumption that the viability of these seeds would be lower.
If you have really expensive seeds, like the Aji Charapita Pepper seeds I bought last year that only have 10 in the whole pack ( $4.00), you might only want to put one seed in each hole. Since if two sprout, you will end up pinching one off and losing that seedling.
As far as depth, you’ll want to follow the instructions on the seed package. If there is no information, the general rule of thumb is double the seed width. So if it’s a tiny seed, plant it very close to the top of the soil. A large seed like a pea, plant it deeper.
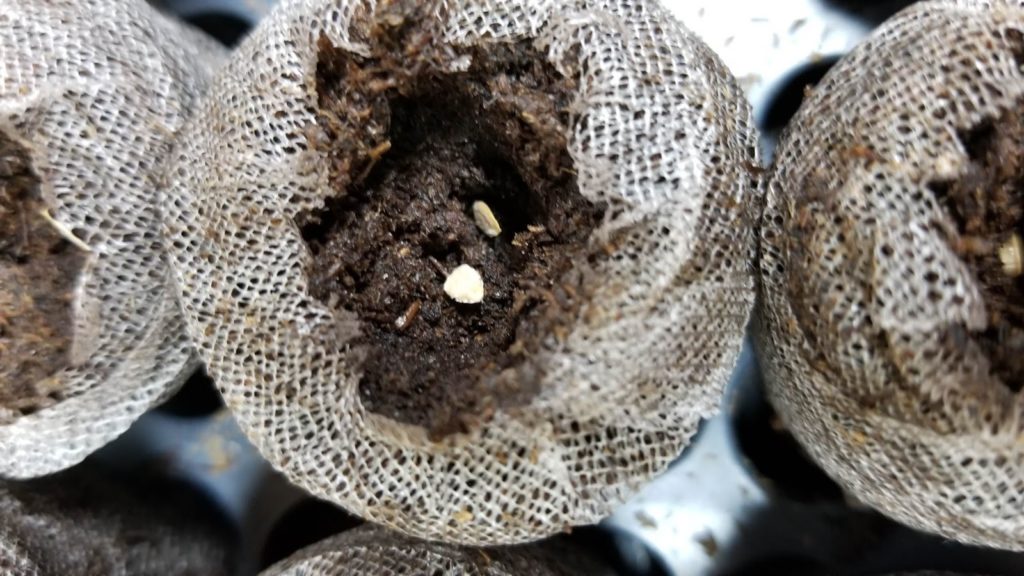
After planting the seeds and covering them up, gently press down on the top of the soil to tamp the seed down. Then give each seed a light watering using a small container or spray bottle.
Cover the Seed Containers
While the seeds are germinating, you will need to put a cover over the seed containers. If you use a seed starting tray, it should come with a plastic cover. If not you could use another plastic top or even some plastic wrap to keep the seed trays evenly humid until the seedlings emerge.
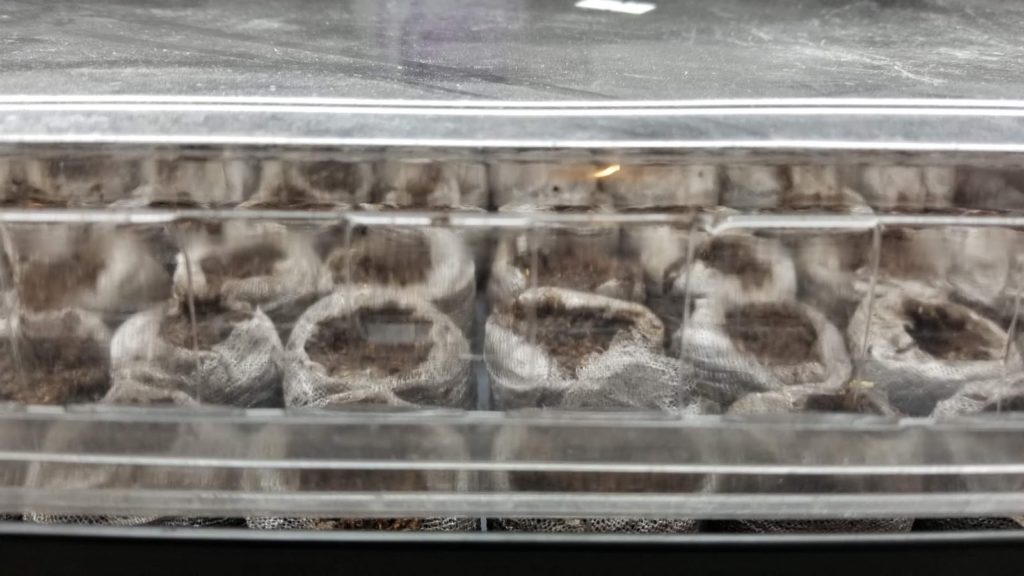
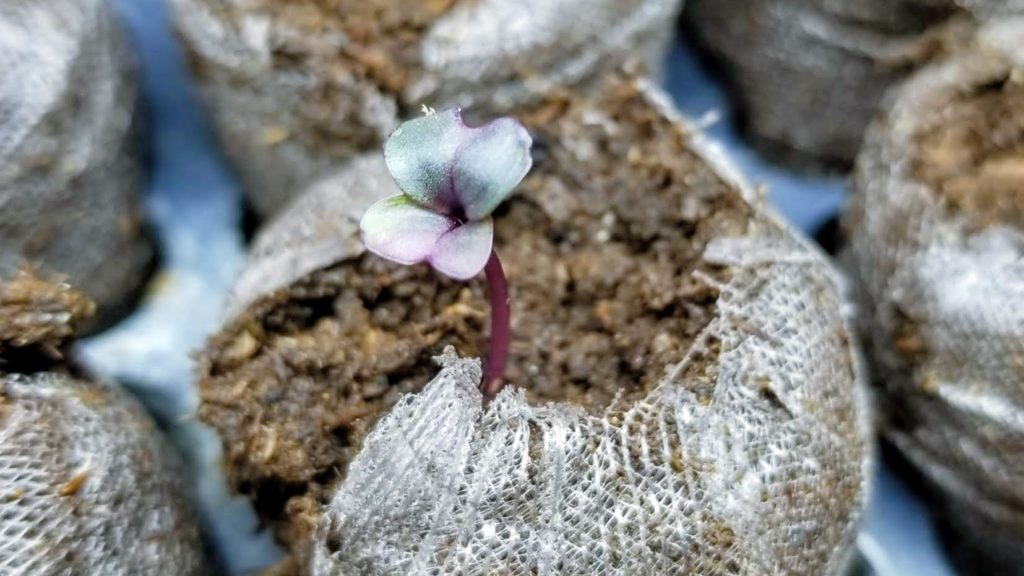
When you see the seedlings start to emerge from the soil, you will want to remove the lids. You can move the lids to the side a bit the first day or two after seeing green pop through. Then remove the cover entirely at that point.
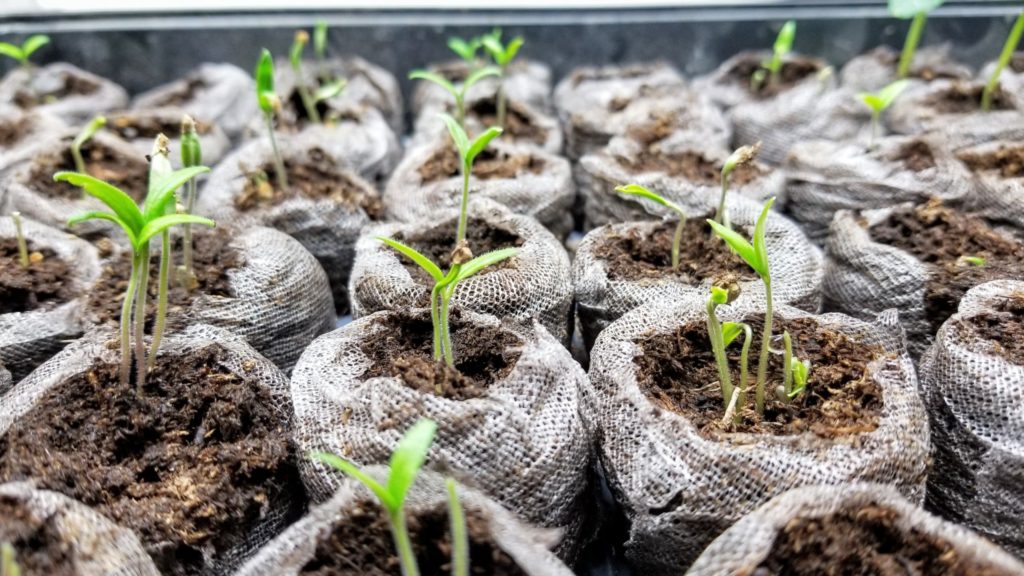
Turn on the Lights!
Now’s the time to make sure to lower your grow light to just above the seeds (or raise the seeds to just below the lights).

Turn on your grow light and leave it on for 12-16 hours per day. A timer at the plug is a great way to do this. Or you can, of course, manually turn the lights on and off each day.
If you happen to forget to turn it on or off one or two times, the plants will survive. Just try not to make that a habit.
Fertilizing
After the true leaves appear, you can fertilize. (the first leaves that appear are called cotyledons, these are not the true leaves. The next leaves to appear are called “true leaves”). This is often around day 21 after planting.

What kind of fertilizer should you use? It depends on if you want to go the organic or inorganic route. This is definitely a personal choice.
If you want simple and cheap, buy an all purpose chemical liquid fertilizer like Miracle Grow. If you want to go more organic and sustainable, try a fish emulsion fertilizer (I guess they make ones that aren’t as stinky too!) or a seaweed based fertilizer. I have used Dr. Earth, Jobe’s, and Zamzow products in the past with good results.
Now, how often to fertilize is up to you. Some sources say to fertilize twice a week, and other say once every two weeks. I would start with the first fertilization and then assess the plants each week. If you are getting yellowing of the lower leaves or purple leaves for example, you will definitely want to fertilize.
For many years, I didn’t fertilized at all. I do, however, think that fertilizing your starts is a good idea. The plants will be bigger, stronger, and healthier when it’s time to put them in the garden. This makes them less susceptible to pests and diseases, and more likely to give you great blooms, vegetables, and fruits.
Thin Seedlings
Since you probably planted more than one seed in each container when you sowed your seeds initially, you will need to thin out your seedlings. I like to thin about the time that the first leaves are fully developed.
It’s important to thin your seedlings to allow for the best plant to have room to grow without competing with roots of another seedling.
DON’T just yank out the other seedlings as you can damage the roots of the seedling you want to keep! Instead, pinch off the worst or leggiest looking seedlings with your fingernails at the base of the stems.
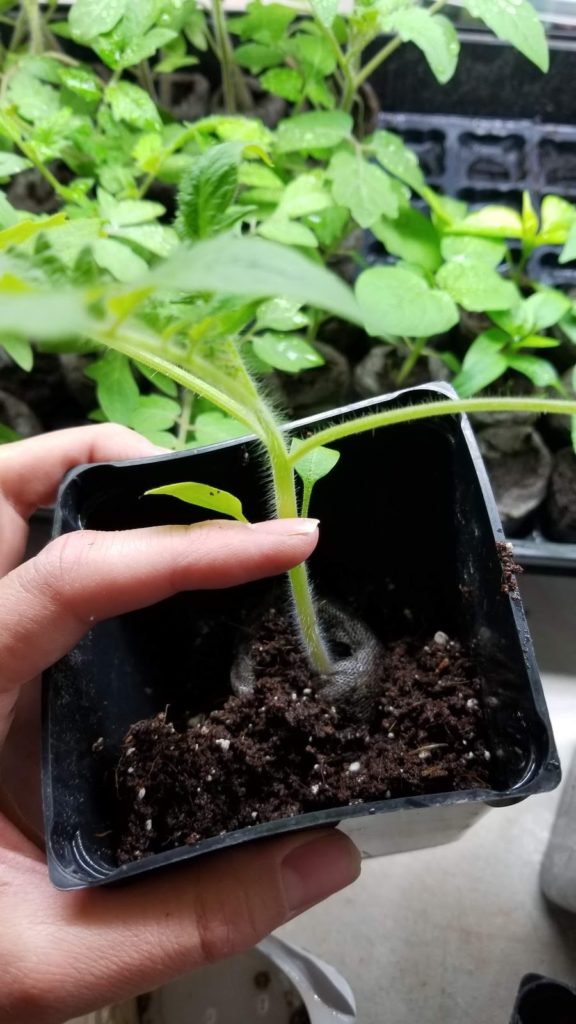
Transplant to Larger Containers
Once the plants have outgrown the first container (unless you planted in larger containers to begin with), you will need to transplant them to something where their roots can grow out and not become bound up.
If you look on the under side of the container and a bunch of long roots are dangling out, you know it needs something bigger. Another sign of needing to be potted up is if your plants are doing well under the lights and aren’t leggy, but all the sudden start to fall over.
In the picture below, you can see a tomato I was potting up. With the seed starting medium, I mixed some granular organic fertilizer.
PROTIP – Tomatoes like to be planted deeply. When transplanting, remove all but the top 4 or so leaves from the bottom of the stem and plant it just below the leaves that are left. Those tiny hairs on the stem, they will become new roots. This will also cause your plant’s stem to become stronger and thicker with more turgor.
Hardening Off
Once the weather is warm enough to transplant your beautiful homegrown plants, you will need to harden them off. You might be saying, hard what?
To harden off plants in the gardening world just means, get the plants used to being outside with wind, strong sun, and fluctuating temperatures. Your plants have been babied inside, it’s now time for them to grow up and see the world!
Bring the plants outside a few hours each day starting in a shady area and moving up to full sun. You can do this in a matter of days or a week or so. Be careful, because the soil will dry out a lot faster outside especially if the containers are small.
Also, when you move the plants outside, be sure to mark the front of the container if you have diagrammed them, so you know which seeds are which when you bring them back in

One method I’ve used to harden plants off is to bring them outside in the morning the first day for 2 hours. So, say from 8 am-10 am. Then the second day, have them out for 4 hours, so from 8 am -12 pm. And just add 2 -3 hours on each day until the plants are out all day long. Then allow them to spend the night outside before you transplant them into your garden areas.
Transplant Outside
After the plants have been sufficiently hardened off, you can put them in the garden! Yay, you did it!
Don’t forget to check the frost date for your area if you are planting tender warm veggies like tomatoes and peppers. And provide protection if you see the temperatures falling into frost zones.
If you are interested in starting seeds using winter sowing, which is a method of starting seeds in winter outdoors using small containers like milk jugs, you can see my post on that HERE.
Well, that’s it! I hope I gave you enough information to get started. If you have any questions or comments, please let me know below.
Happy Gardening!
This post contains affiliate links.


Thank you for these easy-to-follow instructions! I tried indoor seedlings last year and failed miserably. I’m going to follow your instructions and see if I can more success this time.
I’m so glad it helped! Good luck, and you’re welcome to ask any questions you may have in the future!
Hello! I’m new to growing with lights and I had a few questions. I’m growing in a space with little light and its cold. The room gets to about 35 degrees F at night around 45 degrees F in during the day. I’m in Texas, so this could change next week, but for now that’s about where I am. With that being said, I plan on doing LED lights. Do I leave the lights on 24/7? My shelves are 4ft X 2ft. I can fit 4 trays per shelve. So how many bulbs would you recommend per self if I do the 4ft LED shop lights? The lights either come single or double bulb.
At those temps, it’s going to be hard to plant anything but cold weather hardy plants like lettuce for example. You really need the room to be in the range of mid 60s to 80s.
Your lights should be on from 12 to 18 hours per day. Preferably, you would want 2 lights per shelf with that set up. And just a single bulb per overhang. If the lights are brighter, you could possibly get away with a double bulb fixture over an entire shelf. Keep in mind though that the fixture would need to be hung higher above the plants in that configuration (so you need more overhead space above each shelf).
Hope that helps!
[…] your own starts from seed under grow lights, you can check out my comprehensive post on that HERE where I walk you through the process step by […]
Easy tutorial to follow. It made me motivate more to start my own garden and provide for my own healthy vegetable food as well. Thank you for sharing this article that really helpful to me.