Follow or Share the Hobby Love!:
Did you think I misspelled sew? Actually, I’m not talking about sewing, but rather sowing! Because, guys…IT’S ALMOST HERE! Gardening season that is. I started winter sowing today. I’ll show you how to do it.
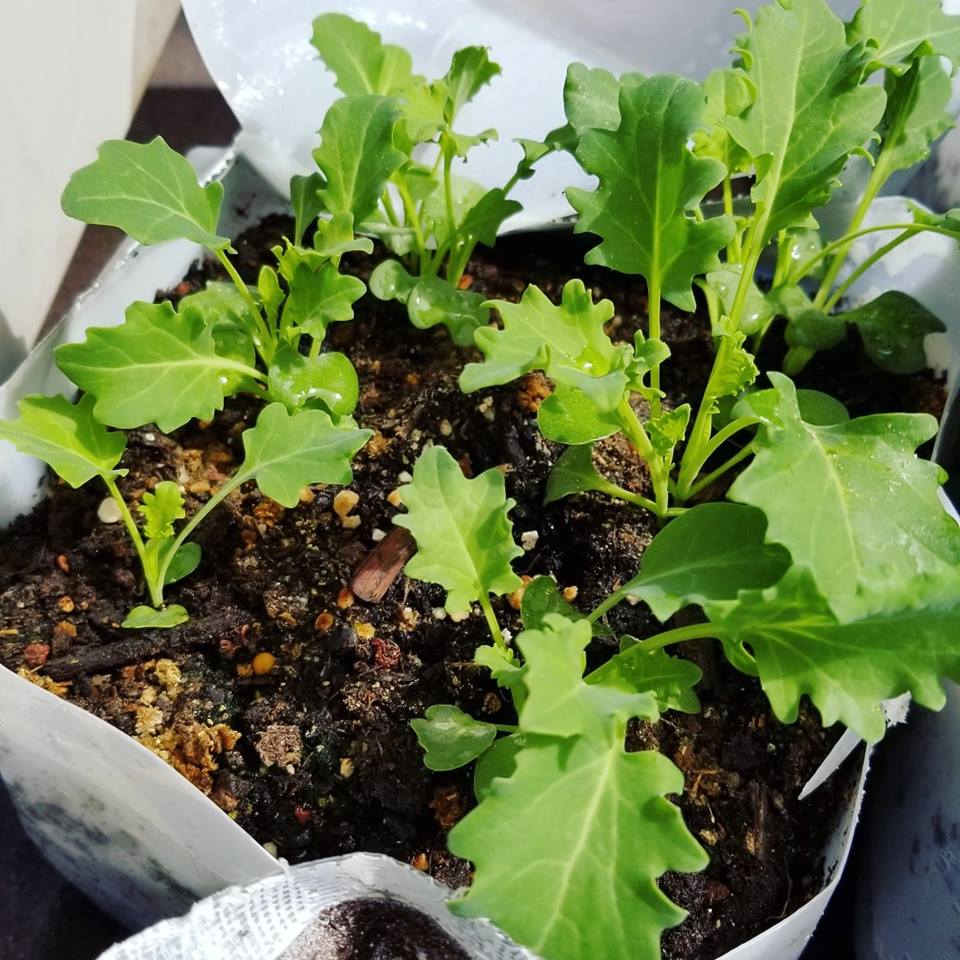
First of all, what is winter sowing? This is sowing seeds when it’s still winter time and too cold to plant seeds in the garden. You could also plant seeds under a cold frame or a big glass bowl if you wanted, but the method I’m referring to uses plastic containers like milk jugs and big plastic containers to create a miniature greenhouse. Here’s a picture of my mini greenhouses:

The idea is that keeping the soil warmer inside the containers allows the seeds to germinate earlier. I just have broccoli and kale planted in these three. You can do warmer weather vegetables in these too like tomatoes, but it’s only February 17th, so they can wait since the soil temperature wouldn’t get high enough for a while anyway. In general, these types of greenhouses will give you a month head start on the weather. If you put it out sooner, it won’t hurt the seeds as long as you don’t have a warm spell where the seeds are allowed to germinate, followed by a cold spell that dips below the seedlings temperature tolerance. This isn’t likely to happen since at low temperatures, it takes a long time for the seeds to germinate.
I found a really neat chart that explains what soil temperature different vegetables will germinate at, and another chart that explains how long it will take to germinate certain seeds at various temperatures. This is from the University of California’s Agricultural Extension. So, as you can see on the chart below, broccoli will germinate at 40 degrees (and since Kale and Broccoli are cousins, kale is the same). So, according to the second chart (and using cauliflower as a similar vegetable). Once the soil temperature in the jugs reaches 50 degrees, it should take about 20 days to see green inside!
Okay, enough nerdy scientific data, you want to know how to winter sow right? So here are the steps:
1. Collect Containers
Milk jugs are great because they are readily available. Even if your family doesn’t drink milk, chances are your neighbor or co-worker does. If they really like you, they might even agree to wash the milk jugs out and leave the lid off to let them dry before they give them to you! You can use other types of containers too though. A big plastic tub with a lid or I’ve even used a large baby green salad container (this I actually used to grow salad greens in). Or something like a large juice container would work too. You could use 2 liter soda bottles, but since they are tall in skinny, you would need to put them in something so they don’t get knocked over (like a big plastic storage container for example).
2. Prepare the Containers
Firstly, no matter what type of container you are using, it will need drainage. You can use a box cutter, x-acto knife, or even a drill with a small bit to make the holes. There’s not an exact right amount of holes to make, just make sure the water can drain out. For the milk jugs, I usually make 7-10 small holes in the bottom.
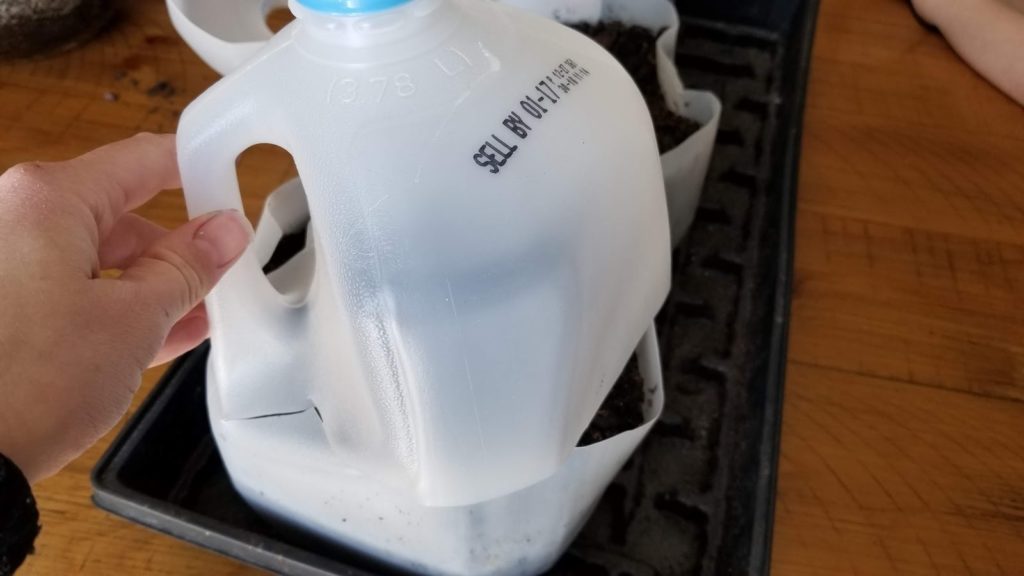
Now, if you are using milk jugs or similar containers, you will need to cut them open somewhere near the middle in order to get the soil and seeds inside.I like to cut from the base of the handle all the way around back to the base of the handle on the other side like the picture shows below. That way it’s easy to open it, but will also be easy to secure it closed in the later step.
3. Fill the Containers
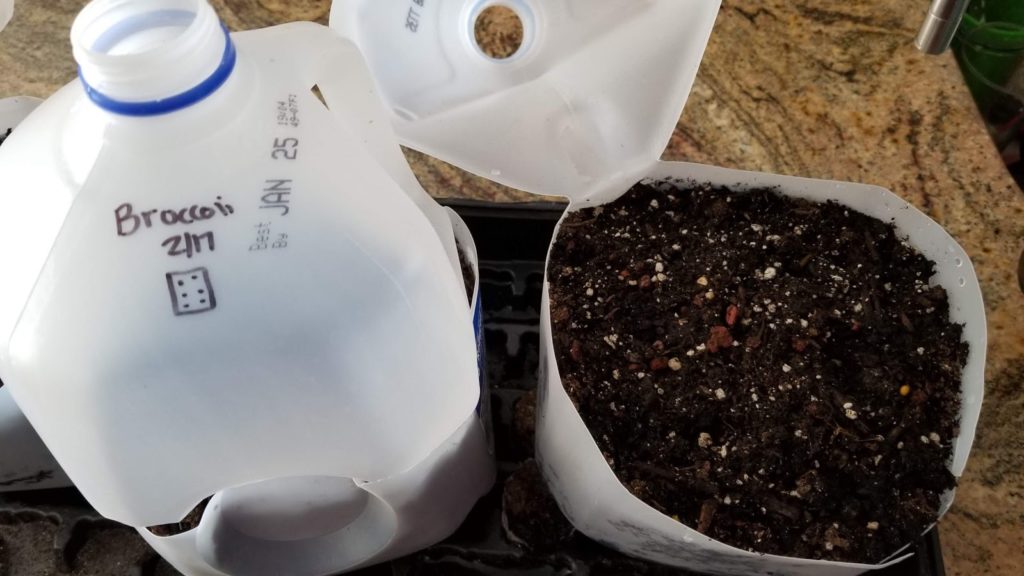
Next you need to fill the container with soil. You can use seedling starter soil, but from my research, it’s better to use a potting soil that has more nutrients in it since the plants will be growing in these for a few months without much, or any amendments. The picture shows a cheap potting soil from Wal-Mart, thus the rocks and stones you see in here, but I think it will work fine.
If you are using a different type of container, just be sure to put enough soil in it so that it doesn’t dry out too fast. These usually don’t need to be watered much in the winter, but if you have a small amount of soil, you will be out with them more than you probably want to be. Also, they won’t be as heavy, and might move around.
4. Plant Seeds
For most milk jugs, I will plant 6-9 seeds depending on the type of plant. If you were doing very small flowers, then it would probably be better to broadcast the seeds across the top of the soil. But for most vegetables, you are just going to evenly space the seeds holes, and put a few seeds in each hole at the depth noted on the seed packet.
Make sure to label each container as you go. It’s okay to plant two different types of seeds into one container, just make sure to label it so that you know later.
5. Close Up Containers
If your container has a built in lid, just put it on! You may need to leave it slightly off or add holes in the top so that water and air can get in, depending on what you are using. If you are using the milk jugs like me, then you just need to secure the cut portion with tape. Don’t put the lid back on the top! That’s where the snow and rain will come in.
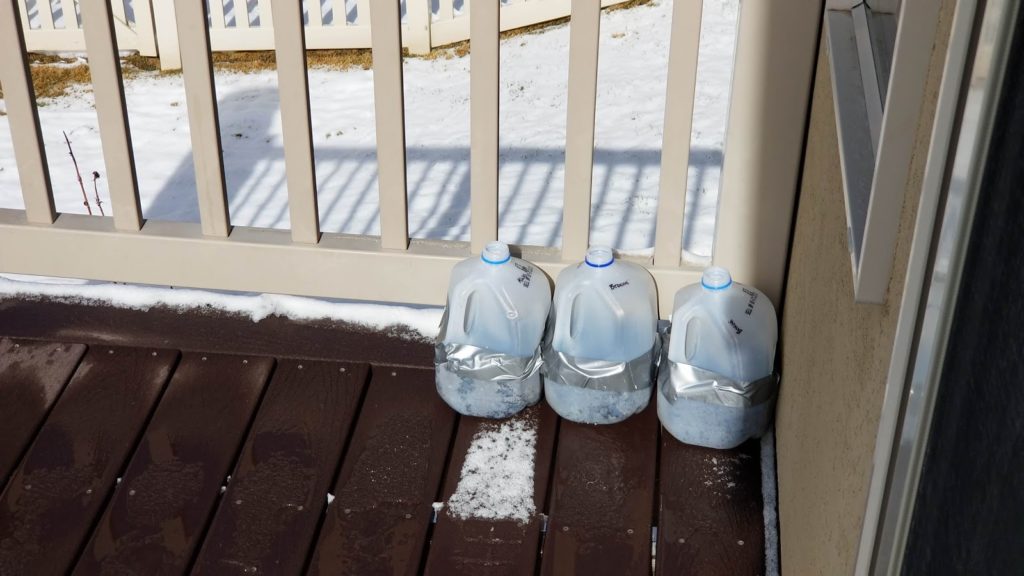
Then put them outside in a sunny spot. These are on the deck, they won’t stay as warm because it’s a deck, but it’s really the best non-windy-close-to-the-door-spot I have. And they have worked fine there in the past!
That’s really all there is too it! When it comes time to transplant them, take the lids off for a few days before you move them to let them harden off (if you are worried they will get shocked, you can still tape them up part of the day while you harden them off). Then just grab the chunk of the dirt that the plant is rooted in, and put that in the earth.
There’s a really great winter sowing Facebook group if you want more information. Click HERE to go to the Facebook group page, it’s a closed group, so you’ll have to join to see posts.
As always, let me know if you have any questions or comments below!
Happy Gardening!


nice post! I love winter sowing <3
Thanks! It's so neat huh?
Great idea! I never thought about doing it this way.
Jessica, great job on the winter sow instructions. Do you actually water them? or will the rain and snow take care of that? what zone do you live in? You put them out in February, and I see snow in the pictures. I was wondering if you could put them out in the late fall, ( if going to florida for the winter) but I assume they would dry out or start to sprout too soon and die. what do you think ?
Thank you! Whether you need to water them or not really depends on how much rainfall you get in your area. I live in a low rainfall area, so I usually don’t have to check and water them until March, and then just periodically check once a week or so unless we get some unusually warm days. My zone is around 7a, sometimes closer to 6.
I think you could put them out in late November to December as long as it’s consistently cold and often rains or snows. You just don’t want them to sprout until they are ready. If I put broccoli for example out in January, I don’t expect to see seedlings until March.
Hope that helps!